 |
| TestFlight - Image from Redmond Pie |
The current testing process of your iOS apps via TestFlight can be tedious. But I find this easier than the process of Fabric and TestFairy wherein you will need to give the developer your device's UDID. Without further ado, here is the step-by-step guide to test an app via TestFlight - that's right, from registration up to the downloading process.
These steps were done using an iPhone. It is required to do these steps on your iOS Device where you plan to download the app.
More details: Easy, right? To add, search for your APP STORE app on your iOS Device, and tap the Search icon at the bottom.
Step 2 - Check your email for itunesconnect invitation sent by your developer and TAP on the "activate your account"
More details: Talk to your developer. The email address that you gave to your developer will be the one you will open up. The email should look like this with the same subject.
Step 3 - Register your new iTunes Connect account.
More details: Fill up the text fields such as your password, of course. Easy again, right?
Step 4 - Check again your email account to verify your newly created iTunes Connect account
More details: you will find the code in your new email sent by Apple. Then switch to your last tab, which is the iTunesConnect - this applies if you are using your device browser for reading emails.
Step 5 - Finally, you will see the terms of conditions for your iTunes Connect account
More details: After reviewing this, leave it as is if you cannot see any button to exit this page.
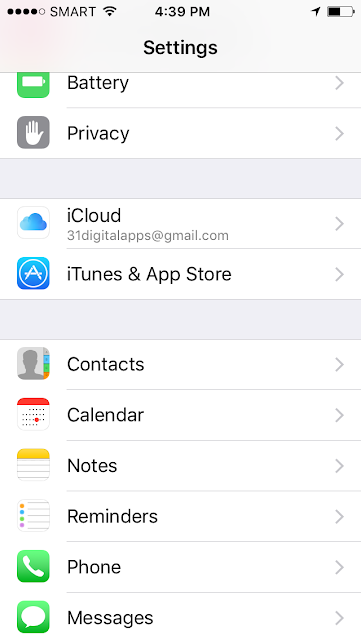
Step 6 - Go to your device SETTINGS and find iTunes & App Store
More details: You can easily find the iTunes & App Store in your Settings, just scroll down a bit if you're using an iPhone 5/5s :)
Step 7 - Sign In to your iTunes & App Store using your newly created iTunes Connect account
More details: If you have successfully registered your new iTunes Connect, you should be able to sign in.
Step 8 - Just fill up everything
More Details: Just fill up everything needed, such as your country, address, and etc... No need for credit card. Just select None if you have none.
Step 9 - After filling up the required fields asking for your details, you will see this new agreement to finish up registering your account
More Details: After reviewing, tap on AGREE.
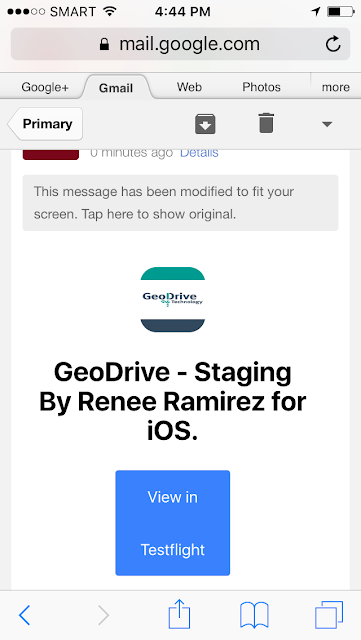
Step 10 - Check your email inbox for the last time, and this is the last email that will be sent by your developer - then tap the button
More Details: You should see now your app on TestFlight app after you get redirected.
Finally - you will be redirected to Testflight - no need to enter Redemm Code - you will see your app to be tested
Do you still have questions? Just let me know!


1 comments:
Thanks for such a comprehensive guide to Test Flight. I was really feeling confused while handling this app and your post helped me a lot.
ReplyPost a Comment